Documentation is not our strong point, it must be admitted in our small IT world. But who has never encountered real difficulties when you come back to a code a year after having produced it. Incomplete documentation, poorly organized, and not really attractive when reading are too often our lot, especially when developing side projects. The Github + Jekyll solution is there for that. I just recently re-launched a blog and was excited about the combo. My expectations were:
- Have a free solution,
- Above all, do not write javascript or HTML to produce my articles
- Have a solution centered on Git and source code management
- Do not manage a heavy CMS-type infrastructure with databases and complex hosting
- Have a CI/CD approach to publishing
What is Github page
Github has for some time now offered the ability to host websites on all of its code repositories for free. Obviously the site in question must follow some guidelines and you must be aware of certain constraints:
- The product site will be a public site, even if your code repository is a private repository
- The default branch that contains your site’s source code is gh-pages (this setting can be changed)
- The site you are going to be able to create must consist of static pages
- All pages are served in HTTPS from the github.io domain.
- Use of GitHub pages is subject to the following rules: GitHub Terms of Service
I’m not going to insult you by showing you how to create a code repository on this famous platform. Once your code repository has been created, go to the settings page.
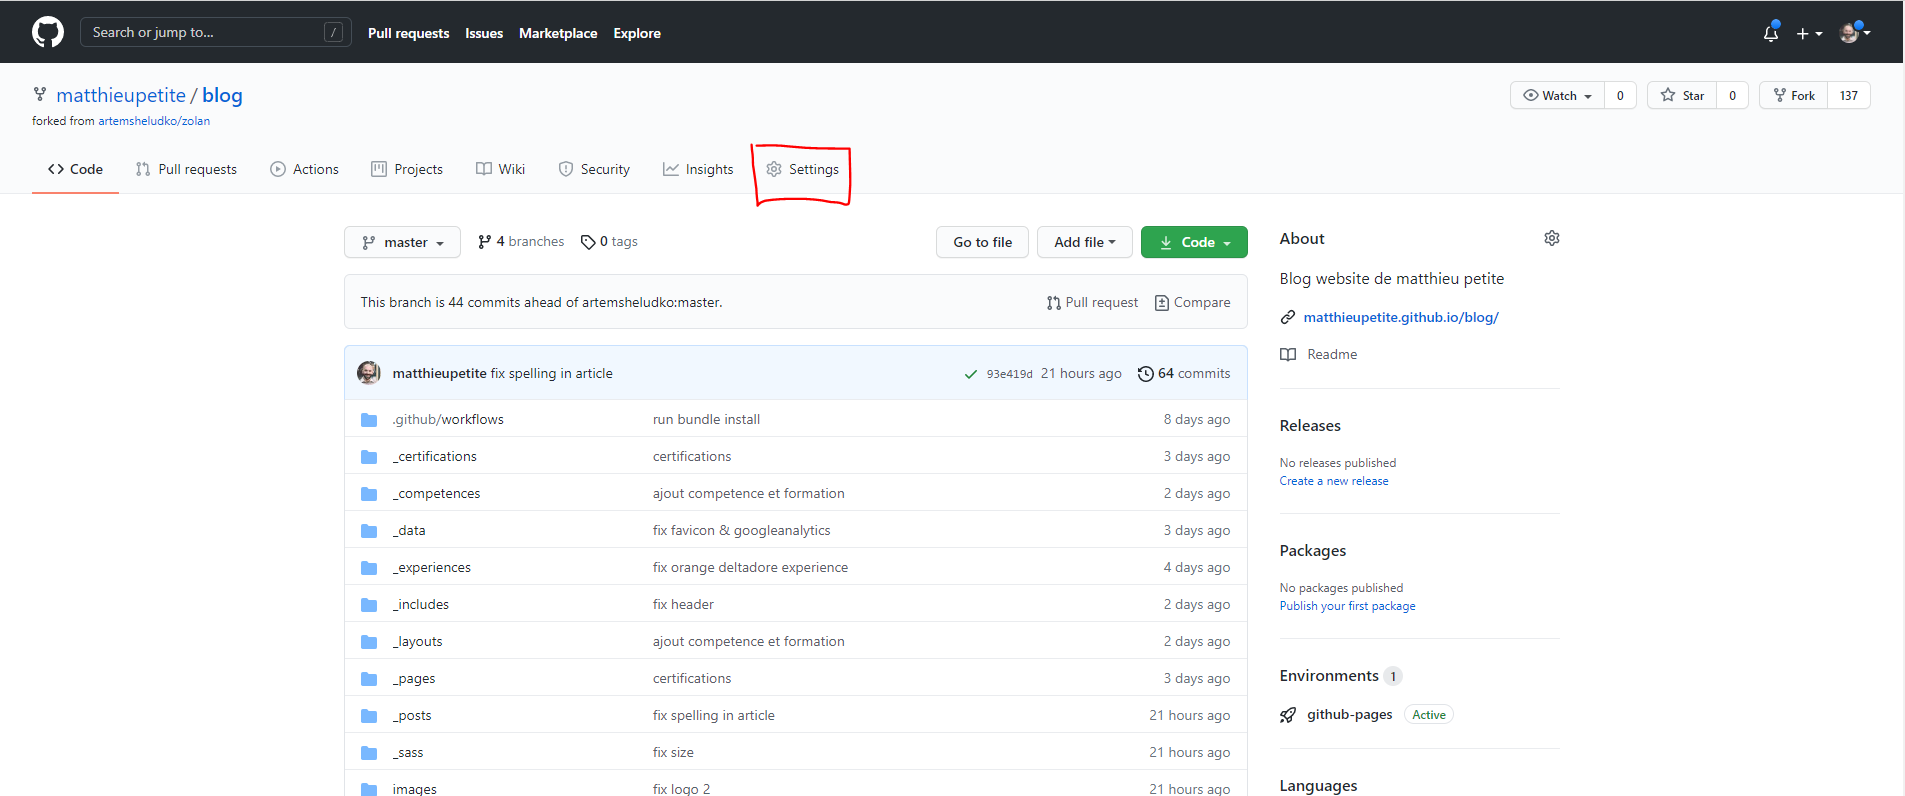
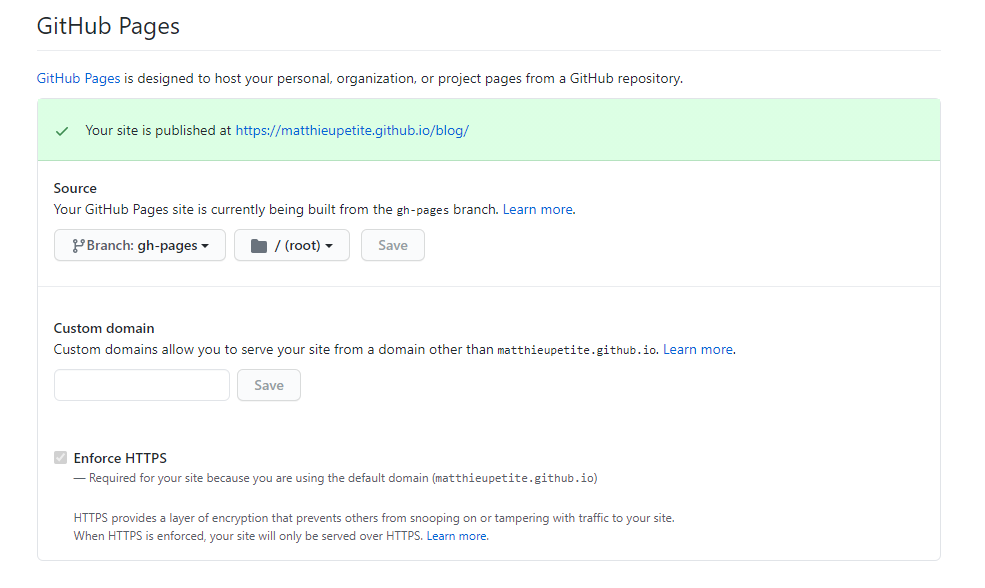
Then you can access the page management settings as shown in the screen below:
Produce the static site: Jekyll is here
In November 2008, Tom Preston-Werner, one of the four founders of the GitHub platform published the Jekyll website generator under the MIT free software license. Written in Ruby, this generator works on the basis of a template repository which contains a series of structured and static text files (markdowns) of different formats. They not only determine the layout, but also the content of each web project. They can therefore be adapted to individual needs. The generator does not provide the WYSIWYG editor, but requires writing classic code. For this purpose, it is recommended to use the vscode editor and its plugins, which simplifies Markdown editing, and which is also optimized for Jekyll.
Before code changes are incorporated into the live version of the web application, they can be inspected through Jekyll’s development server. The implemented rendering engine ensures that the files turn into a static website (which can then be delivered with any common web server). This automatically generates HTML code when changes are made to text files.
To use Jekyll, you can download and host it locally on your own computer, or integrate it into your Github Action pipeline.
Here are some useful links that allowed me to build my site:
And the CI/CD?
Jekyll therefore offers us the possibility of transforming your written articles into markdown and classic HTML page, Github allows us to host the website within a branch of our code repository, what are we missing? Fluidity.
Thanks to the GitHub action, you will be able to automate the production process of your website. On every commit to your main (or master, or docs) branch, we’ll trigger a pipeline that:
- checkout your branch code
- Install Jekyll
- Launches the command
Jekyll buildallowing the production of your static site in a _site folder of the build agent - Commit the contents of the _site folder to your repository thus updating your site
To do this, in the master branch of your site create the .github folder and position the content as follows:
📦.github
 ┗ 📂workflows
 ┃ ┗ 📜github-page.yml
Éditez le fichier github-page.yml pour y ajouter le contenu suivant:
name: Testing the GitHub Pages publication

on:
  push:
    branches:
      - master

jobs:
  jekyll:
    runs-on: ubuntu-16.04
    steps:
    - uses: actions/checkout@v2
    - name: 💎 setup ruby
      uses: ruby/setup-ruby@v1
      with:
        ruby-version: 2.7 # can change this to 2.7 or whatever version you prefer
        bundler-cache: true

    - name: 🔨 install dependencies & build site
      uses: limjh16/jekyll-action-ts@v2
      with:
        enable_cache: true
          ### Enables caching. Similar to https://github.com/actions/cache.
          #
          # format_output: true
          ### Uses prettier https://prettier.io to format jekyll output HTML.
          #
          # prettier_opts: '{ "useTabs": true }'
          ### Sets prettier options (in JSON) to format output HTML. For example, output tabs over spaces.
          ### Possible options are outlined in https://prettier.io/docs/en/options.html
          #
          # prettier_ignore: 'about/*'
          ### Ignore paths for prettier to not format those html files.
          ### Useful if the file is exceptionally large, so formatting it takes a while.
          ### Also useful if HTML compression is enabled for that file / formatting messes it up.
          #
          # jekyll_src: sample_site
          ### If the jekyll website source is not in root, specify the directory. (in this case, sample_site)
          ### By default, this is not required as the action searches for a _config.yml automatically.
          #
          # gem_src: sample_site
          ### By default, this is not required as the action searches for a _config.yml automatically.
          ### However, if there are multiple Gemfiles, the action may not be able to determine which to use.
          ### In that case, specify the directory. (in this case, sample_site)
          ###
          ### If jekyll_src is set, the action would automatically choose the Gemfile in jekyll_src.
          ### In that case this input may not be needed as well.
          #
          # key: $-gems-$
          # restore-keys: $-gems-
          ### In cases where you want to specify the cache key, enable the above 2 inputs
          ### Follows the format here https://github.com/actions/cache
          #
          # custom_opts: '--drafts --future'
          ### If you need to specify any Jekyll build options, enable the above input
          ### Flags accepted can be found here https://jekyllrb.com/docs/configuration/options/#build-command-options

    - name: 🚀 deploy
      uses: peaceiris/actions-gh-pages@v3
      with:
        github_token: $
        publish_dir: ./_site
          # if the repo you are deploying to is <username>.github.io, uncomment the line below.
          # if you are including the line below, make sure your source files are NOT in the master branch:
        publish_branch: gh-pages
As you can see this file describes the github action pipeline that is triggered on each push to the master branch. For more information on trigger modes and more complex action writing I recommend the following site: https://github.com/features/actions. Attention, the gh-pages branch must be created, without content, before the first launch of the pipeline
And There you go …
Once you’ve set up your site, written your first article, and pushed it all into your master branch, you’ll find that the website builds automatically. Here is what I came up with to make my blog and present my experience with this tool suite:

You can access the source code of my blog here: https://github.com/matthieupetite/blog/